Showing posts with label Sewing. Show all posts

Monday, November 02, 2009

Tree Boy


I know most of you have seen in on Ravelry, but here is Kenneth's tree costume.

When we started talking about Halloween he said he wanted to wear a hat. A blue hat with a red B. Hmmmm, you mean the baseball hat he wears everyday? Yes. So I thought this would be a costume-less year. Then we went camping and he hugged a redwood tree. While his hands were full of splinters he decided to be a tree for Halloween. It was really fun, we went shopping for the fabric and accessories together. First it was a "leaf tree", then a "bug tree", then a "bug and apple tree". About a week ago he said from the backseat "Eyes. Eyes for my tree". I asked if he meant the letter or eyeballs. Eyeballs it was. Fortunately he forgot about that, because I ran out of time to craft eyeballs.

We worked on the tree together over the weeks, he did a little cutting. One night he told me he wanted to be a mommy for Halloween. I hoped that would blow over, he's already getting teased for having long hair. I asked if he could be a mommy tree and he said okay.


I didn't get the best photos. There's a pipe cleaner nest on his shoulder, and little twigs that stick out here and there. I knit the hat really quickly out of Lopi. Here's some silly video of him walking in the school parade, he's handing me his hawk at the end.

Thursday, October 08, 2009

Dyeing for Halloween

Here's some spinning content. First, there's a contest at Martha Vineyard Fiber Farm. Go over, commiserate about moving, and enter the drawing for a total of two pounds of their fiber.

I've been getting ready to sell stuff at a craft table at the preschool's Harvest Festival on the 24th. I'm planning on felted bags, yarn, and maybe a few knitted things. I've been dyeing.


I dyed and spun this:


And I guess this is my first art yarn:


I didn't dye this, just spun it:


I also made some costumes for the school to sell. Two pink poodle skirts (easy):


And two Dorothy dresses which were very intricate.

Tuesday, January 13, 2009

Hverdags Bunad Preview

Part of the reason for my lack of posting lately is that I have been working on my hverdags or everyday bunad. In contrast the fest bunad, the hverdags bunad is not heavily embroidered, or as regemented.

For the last three or four weeks I worked here and there to make the blouse, dress, and belt with the goal of finishing for our Lodge's installation of officers this past Sunday. A dear member, Paula, picked out the fabric for me and helped immensely with the planning, fitting, and execution.


I just made the deadline, attaching the belt buckles right before the meeting. I was so happy that I had something special to wear as I had the honor of acting as installing marshal, presenting candidates to be installed. I wanted to look nice for them. And to my surprise, our new president had just made herself an everyday bunad for the occasion, too.

I will wear it again in March when we go to Roseville to assist in the official institution of a new lodge there. I have a few adjustments to make (belt is too big, skirt 1" too long, cuffs too loose, other piece of silver won't stay on blouse). I will get full-length photos when it is looking more polished.

It is so great to have something fancy and Norwegian to wear. I usually put on a Norwegian sweater for our meetings but on these special days I wanted something nicer. I do have a plan for getting my fancy bunad done, I'm going to devote one day a week to the embroidery.

Paula is quite the bunad expert and is holding workshops so other members can make their own. The "Old Country Nordic Pattern" comes from Vesterheim, the clasps from Ingebretsen's in Minneapolis, and the jewelry and shoes I got in Norway for my fest bunad.

Friday, October 03, 2008

Costumes

I heard about a Halloween costume contest going on at Becky Knits Too. The winner will receive a $20 gift certificate to Scout's Swag. You can tell her about the costume on the contest post, or better yet, post a picture of it on your blog. You get more entries that way. And people can laugh at you or fall in love with you, as the case may be.

Here's one of mine:


I'm the bee up front and center. Apologies to my former co-workers, I will not list your names, to protect your identities, and I know one of you reads this blog. We were a total hit and credit goes to the unnamed bee front left for coming up with the idea. Thanks to us, the costume contest was brought back the next year, and we won as Potato Heads. Maybe I'll put that photo up as we get closer to Halloween. (see bottom of post for instructions for the bee costume).

But why was this one of my favorite costumes? Because I have a lot of good memories about that Halloween. We had fun making them, we entertained a lot of people, and I have some good blackmail photos. But the most memorable part was later that evening after going to Halloween at Castro Street when my friend and I went to a local bar where the female bartender developed a crush on me. She kept giving us "red headed sluts", a charming little drink consisting of Peach Schnapps, Jagermeister, and cranberry juice. Nectar, I tell you. I like free drinks and all, but it was so funny that someone would have a crush on a sweaty woman in a Hefty Bag. I was told she asked about me later.

Anyhow, thanks, Becky, for holding the contest. Brought back some fond memories.

------------------

Speaking of costumes (well kind of, indulge me, okay?), the verdict is still out on the Hammer Pants. Here's a photo of him performing today from the local newspaper. They are baggy, but not really tight enough at the ankle, right? And local blogger, PretePress, apparently got to attend the concert. Here is his post, complete with video. I still can't tell about the pants! And I'm curious if he sang other songs (MC Hammer, that is). I will say he certainly qualifies as "Hardly Strictly" Bluegrass.

-------------------

This isn't really sewing, but I didn't want to make a new category label.

Easy Bee Costume

Materials:
  • Large black garbage bag - one per bee, unless you screw up cutting, better have extra
  • Yellow Duct Tape - one roll
  • Yellow Pipe Cleaners (aka some other name these days) - 2 to 4 per bee
  • Fishing Bobbers - 2 per bee
  • Plastic Hairband - one per bee
  • Black Spray Paint - one can
  • Scissors - one pair, unless you are doing an assembly line
  • Dark Shirt & Pants - one of each per bee, please
Optional Items:
  • Sunglasses
  • Yellow & Black striped socks
  • Bit 'O Honey candy to give out
Instructions:
  • In advance, spray paint fishing bobbers
  • Cut out hole for head at the bottom (now top) of garbage bag
  • Cut out holes for arms
  • Put stripes of yellow tape on bag. Bag on your person, or laid flat on the table, your choice.
  • Put each bobber on a pipe cleaner, you might have to double up
  • Wrap two pipe cleaner/bobbers onto the headband, it can be challenging to keep them, um, erect
  • Put on your dark clothes, striped socks, garbage bag, antennae, and sunglasses (and shoes, I guess)
  • Get ready to sweat, or to be prepared for rain, if you are the "glass half full" type of person

Saturday, April 26, 2008

Bike Quilt

Here is the quilt block I made for the San Francisco Bicycle Coalition quilt project.
Mr. V.P. says it looks like I got a message from outer space. Um, well, yes it is supposed to be a bit abstract.

It was fun doing a bit of embroidery and applique. I did a some sketching before I got the background fabric in the mail. I had several ideas around flying, so the fabric made the decision.

Monday, January 14, 2008

Viking Costume

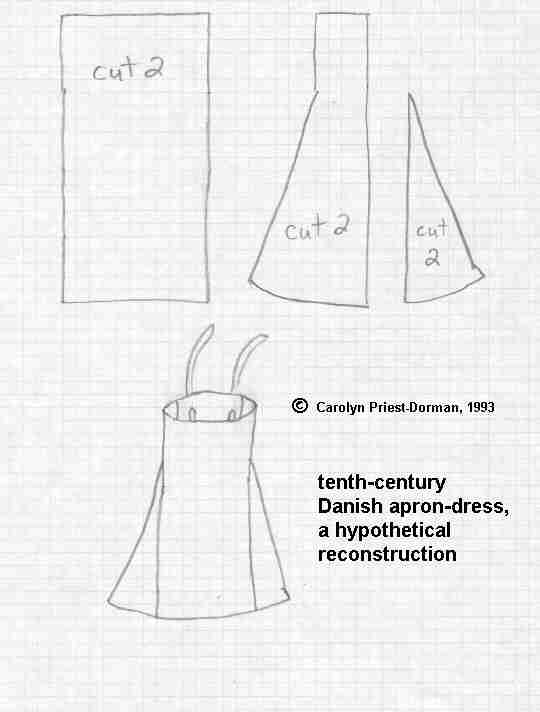
Here I am in my Viking costume. It is a work in progress. I really need a headscarf, a belt, and another layer. I made the apron using this pattern. It is based on the Birka style. There is very good information about Viking dress here, and a bunch of links here.


I've got brooches holding up the apron, a pin of the Norse god & goddess Frey & Freya, a key, and my newest addition, the necklace.


Our Daughters of Norway lodge made them, as well as earrings and bracelets, to sell at Norway Day. The member who led the project researched Viking jewelry, and the designs are based on a necklace found at Hon, Norway. There is a picture of it on the Viking Answer Lady's jewelry page.

Sunday, December 23, 2007

No Peeking Under My (Tree) Skirt

This is our tree. It is small, up high and started with no breakable ornaments.


The guy on the right the reason for our truncated tree.


This is the angel I embroidered many years ago. I just love her.


This is the ornament that my friend Linda painted, inspired by rosemaling. She loves purple as much as I like pink. She sold her ornaments at a craft fair this year and made one pink one. Luckily I got it.


This is the tree skirt I finally finished last week.


I have made the pattern a couple times before. It isn't hard but a little time consuming and of course I had to have the iron, and other dangerous implements out in the process. It was a challenge to get it done with a toddler helping. I knew it wouldn't be perfect. However, if I were to let you peek underneath, you would see the visible seam where I pieced the backing fabric. Yes, I cut, pinned and sewed the entire backing on upside down without noticing. Ugh!!

Monday, November 05, 2007

Easy Giraffe Costume

In this post I’ll show you how I turned these “materials”:


Into a toddling giraffe:


I wasn’t going to make my son a costume this year since he is to young to go trick-or-treating or understand what Halloween is about. But he got invited to a costume birthday party, so I decided what the heck. Plus, the zoo has an event and he loves the zoo, hence the giraffe idea.

First I looked on the internet to get some ideas. Then I made some sketches of different concepts. My main considerations were that I didn’t want to spend a lot time or money and that the boy doesn’t like loose clothing, getting dressed in general, but does love running. So I made the tunic easy-on, sleeveless, with slits. The “horns” were a little more difficult to figure out. I contemplated making a cover for his ball cap or something elasticized, perhaps knitting the horns.

I went to the fabric store and bought way too much giraffe print, a pack of seam binding, brown yarn, and black fun fur yarn. I picked up a girl’s headband at Target just in case things got desperate with the horns, figured I could glue fabric and horns on. Bubba already had brown pants, shirt and hat.

The first thing I did was trace half of the front of an existing sweatshirt of his to make a pattern. The front of the tunic is one piece of fabric and the back seamed in the middle in order to have a place to attach the tail and have a back neck opening. I added a half an inch to the center seam to make it roomier, extended the side seams to make it longer, added 1/2” seam allowances on the side and neck. Then, since I am lazy and didn’t want to make a separate pattern for the back, I added another 1/2” for a seam allowance to the center which is folded back when cutting the front (which is cut on a fold); and drafted a higher neck line with s.a. for the back which I cut to the side s.a. line, so it could be folded back, too.


Next I sewed a tube for the tail, turned it right side out leaving both ends open. Sewed the center back seam with the tail in the seam (leaving a couple inches open at the top), then the shoulder seams, and the sides, leaving the bottom couple inches open. Tried it on my model to discover the tail was way too high; tore out seam, repositioned tail and sewed back up.

I didn’t do fancy finishing and couldn’t properly sew since I couldn’t have the iron on with Mr. Toddles running about. Kept telling myself it was just a costume. I just turned under and stitched around the armholes, the edges of the side slits, the straight part of the neck opening. I used the seam binding to cover the raw neck edge leaving tails to tie the back closed. I mistakenly bought single-fold bias tape so I didn’t have much to work with. It’s the one part that looks kind of bad. I folded up the bottom edges to make hems. Finally, I took a bunch of lengths of the fuzzy yarn and stuck it into the end (raw edge turned under) of the tail and simply stitched it closed back and forth, catching the yarn inside. The tail was really cute, I'm bummed I didn't get any photos of it in action. Here it is:


And the back closure:


I was still not sure how I was going to make the horns, and was determined not to stay up all night. So I tossed aside the idea of covering the ball cap. I made small tubes of fabric for the horns, stuffed them with fabric scraps and added yarn as for the tail. I sewed a tube to cover the head band, the horns in the seam, with a slit open near the end to slide the band in. The horns wouldn’t stand up so I unfolded a big paper clip, and from underneath ran an end into each horn. Slid the hairband in and didn’t even bother to hand stitch it shut. I'm glad I didn't spend a lot of time on it because he refused to wear the horns much.


All in all I was happy with the costume and entered it in a contest at "The Poop". We didn't win but got to see a lot of really inventive, cute costumes. Check it out. There are more "after" photos on his blog. Email me if you would like the link.

Monday, November 06, 2006

Cloth Diapers

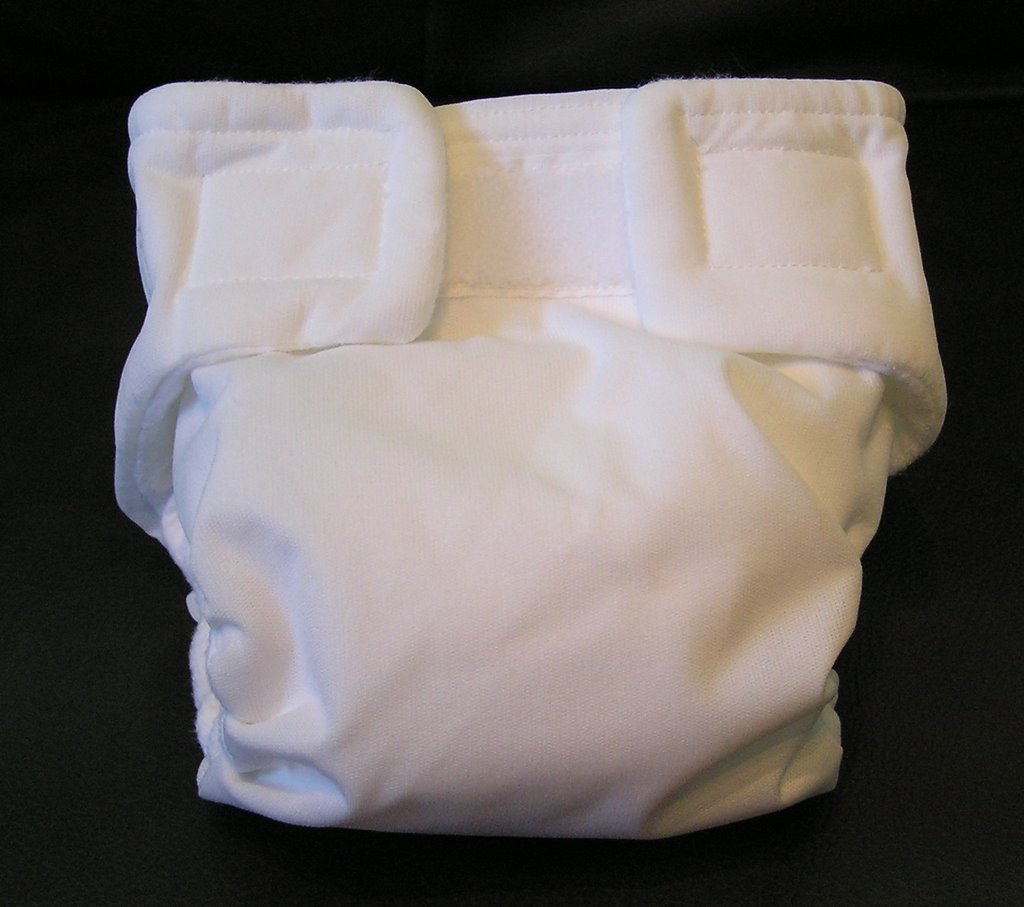
We decided to use cloth diapers as much as possible for a variety of reasons. I discovered that they are pretty hi-tech these days, and decided to try All-In-Ones for Kenneth. Instead of separate diapers and covers, an AIO consists of a waterproof layer, two layers of diaper fabric, and an internal pad of eight layers. And the whole thing just "velcros" on and afterwards goes in the washer and dryer. There are also long, foldable inserts (no picture) made of diaper fabric and flannel. This allows extra absorbency to be placed appropriately for boys & girls without a diaper that would take an hour and a half to dry. As it is with the eight layers they take an hour.


They are quite expensive to purchase, but I like to sew, so I got the pattern at Very Baby and the materials at One Stop Diaper Shop. They are very labor intensive, and the situation was made worse by the enormous belly in the way. If K. hadn't arrived two weeks "late" I'm not sure how many he would have had.

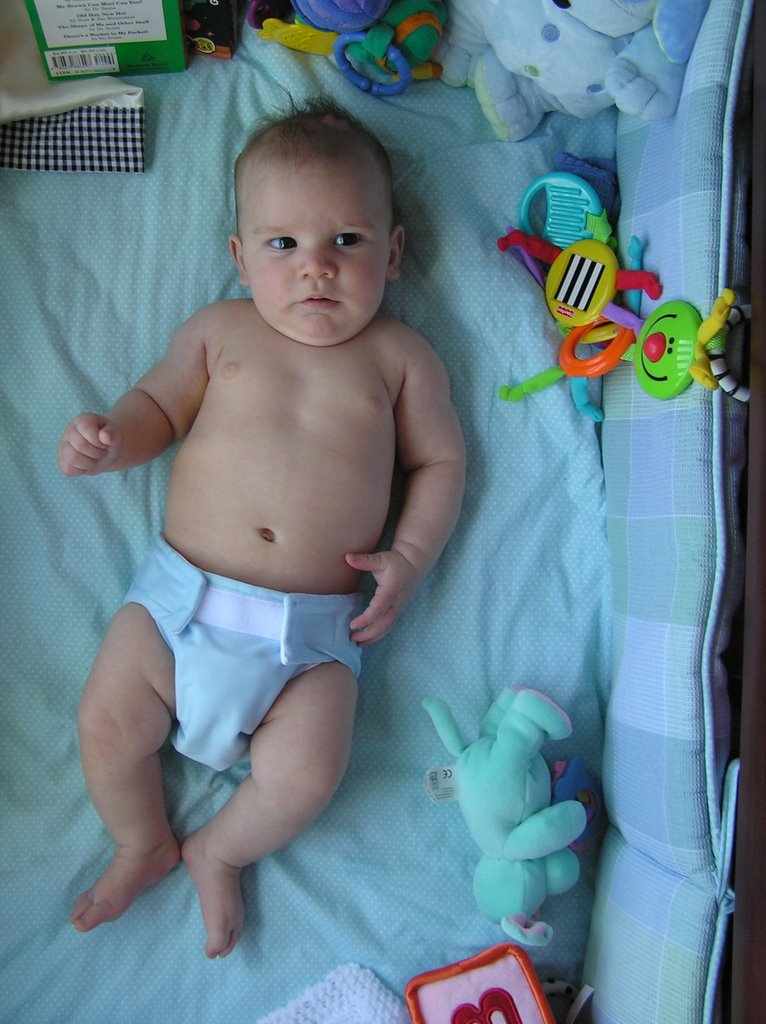
He grew out of the initial newborn set pretty quickly:


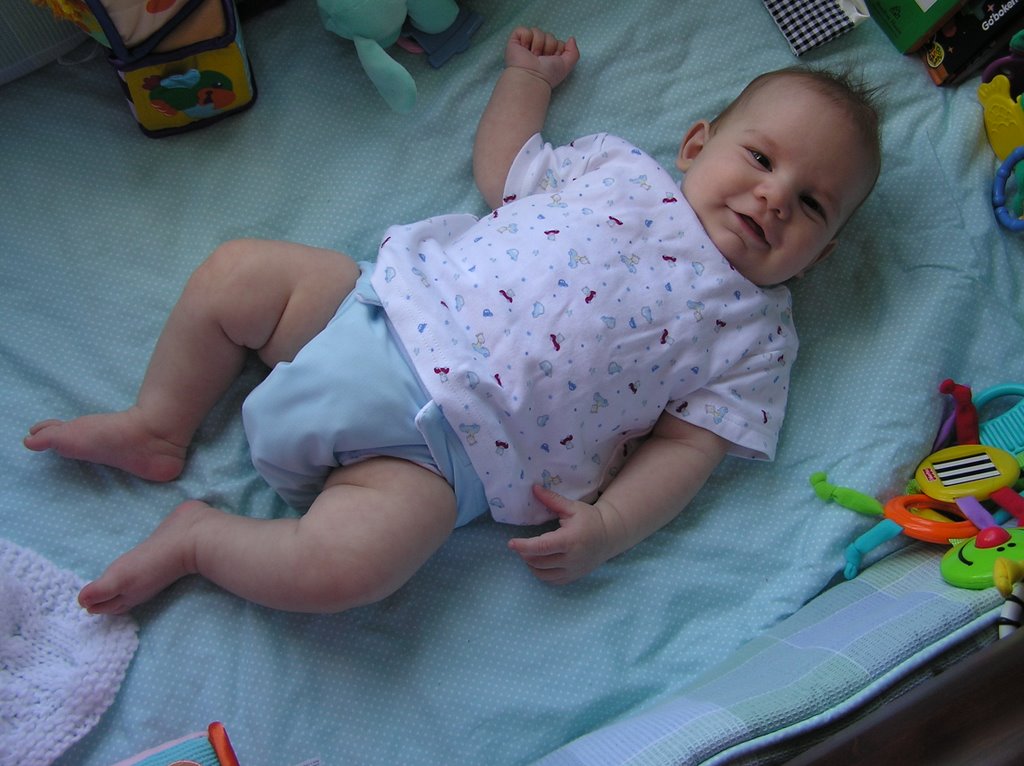
With the help of friends and family I made another batch in size small. (Okay, there are about five more partially completed). He is about to outgrow them, too.


I made white, blue, and periwinkle. That's part of the fun of making your own - colors. Note the coordination with his shirt. I used the scraps to make some waterproof cloths for him to sleep on and such.


The materials for the medium size have been sitting here for at least ten days. Ugh. At least they are supposed to fit up to twenty-some pounds, I think.

Monday, March 06, 2006

No Gold but Two F.O.'s


I did not receive a gold in the Knitting Olympics. Which is not to say I did not try. Here's the progress I made on the sweater, in my opinion, the hardest part - the colorwork on the body from the hem up (including extra inch that gets turned up to make a scalloped edge). The rest is solid black except for the sleeves, which have more colorwork, but are done in the round, so no purling.

In addition, I finished making this tote bag, which I started about three years ago. It even survived a move. Note the piping.


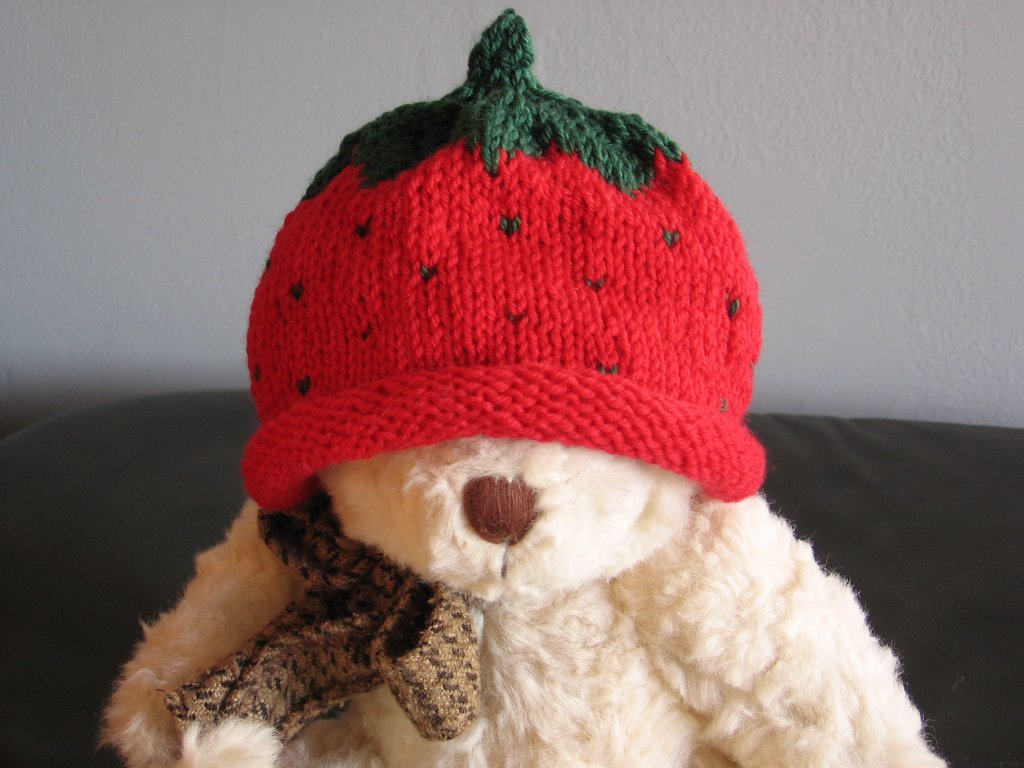
And finally, I knit this hat for a friend who is due to have a baby any day.