Monday, November 05, 2007

Easy Giraffe Costume

In this post I’ll show you how I turned these “materials”:


Into a toddling giraffe:


I wasn’t going to make my son a costume this year since he is to young to go trick-or-treating or understand what Halloween is about. But he got invited to a costume birthday party, so I decided what the heck. Plus, the zoo has an event and he loves the zoo, hence the giraffe idea.

First I looked on the internet to get some ideas. Then I made some sketches of different concepts. My main considerations were that I didn’t want to spend a lot time or money and that the boy doesn’t like loose clothing, getting dressed in general, but does love running. So I made the tunic easy-on, sleeveless, with slits. The “horns” were a little more difficult to figure out. I contemplated making a cover for his ball cap or something elasticized, perhaps knitting the horns.

I went to the fabric store and bought way too much giraffe print, a pack of seam binding, brown yarn, and black fun fur yarn. I picked up a girl’s headband at Target just in case things got desperate with the horns, figured I could glue fabric and horns on. Bubba already had brown pants, shirt and hat.

The first thing I did was trace half of the front of an existing sweatshirt of his to make a pattern. The front of the tunic is one piece of fabric and the back seamed in the middle in order to have a place to attach the tail and have a back neck opening. I added a half an inch to the center seam to make it roomier, extended the side seams to make it longer, added 1/2” seam allowances on the side and neck. Then, since I am lazy and didn’t want to make a separate pattern for the back, I added another 1/2” for a seam allowance to the center which is folded back when cutting the front (which is cut on a fold); and drafted a higher neck line with s.a. for the back which I cut to the side s.a. line, so it could be folded back, too.


Next I sewed a tube for the tail, turned it right side out leaving both ends open. Sewed the center back seam with the tail in the seam (leaving a couple inches open at the top), then the shoulder seams, and the sides, leaving the bottom couple inches open. Tried it on my model to discover the tail was way too high; tore out seam, repositioned tail and sewed back up.

I didn’t do fancy finishing and couldn’t properly sew since I couldn’t have the iron on with Mr. Toddles running about. Kept telling myself it was just a costume. I just turned under and stitched around the armholes, the edges of the side slits, the straight part of the neck opening. I used the seam binding to cover the raw neck edge leaving tails to tie the back closed. I mistakenly bought single-fold bias tape so I didn’t have much to work with. It’s the one part that looks kind of bad. I folded up the bottom edges to make hems. Finally, I took a bunch of lengths of the fuzzy yarn and stuck it into the end (raw edge turned under) of the tail and simply stitched it closed back and forth, catching the yarn inside. The tail was really cute, I'm bummed I didn't get any photos of it in action. Here it is:


And the back closure:


I was still not sure how I was going to make the horns, and was determined not to stay up all night. So I tossed aside the idea of covering the ball cap. I made small tubes of fabric for the horns, stuffed them with fabric scraps and added yarn as for the tail. I sewed a tube to cover the head band, the horns in the seam, with a slit open near the end to slide the band in. The horns wouldn’t stand up so I unfolded a big paper clip, and from underneath ran an end into each horn. Slid the hairband in and didn’t even bother to hand stitch it shut. I'm glad I didn't spend a lot of time on it because he refused to wear the horns much.


All in all I was happy with the costume and entered it in a contest at "The Poop". We didn't win but got to see a lot of really inventive, cute costumes. Check it out. There are more "after" photos on his blog. Email me if you would like the link.

Sunday, November 04, 2007

My First Socks


These are my first socks. I’m really happy with them. They actually have been finished for quite a few weeks, I just never got around to blocking them. Yesterday I finally just washed and dried them so I could get photos. Thanks NABLOPOMO and Ravelry for the incentive.

I decided to try these after a failed attempt almost two years ago. Since then I have more knitting experience in general, and have used the size 1's enough that I felt comfortable. It was fun to just follow the instructions and trust that they would turn into a sock. I did some stuff wrong, but that's okay.

Pattern: Sock It To Me Plain Toe-Up Socks from Elann.com
Yarn: Can't remember. Wool patterned sock yarn. Band lost while project abandoned
Needles: #1 US bamboo dpns
Problems: The first one was bound off a bit too tightly.

Here are both of them, stacked:


See how they are almost the same size? Cool.

And, of course on my foot. They fit quite well.

Saturday, November 03, 2007

Card Weaving

I bought a book about card weaving many years ago, in part, I think, because it looked like weaving that would take up a small amount of space. The book has gone through several moves, patiently waiting on the bookshelf for me to use it. Since I started learning abou Scandinavia and the Vikings, I made a Viking costume which has woven trim, which would have actually been a card woven edge. That made me remember the book.

In card weaving the pattern comes from the warp threads, rather than the wefts, which are woven back and forth. The pattern is made by turning cards that have the warp yarn threaded through holes towards you and away from you. One end of the weaving is anchored to an object, the other to the weaver. The Vikings used card woven bands with long wefts left hanging as the top edge for weaving fabric, the wefts essentially became the warps on a weighted loom. The book, "Card Weaving" by Candace Crockett, from Interweave Press, came with enough cards to get started, and I had yarn I had collected for tapestry weaving.

I read through the step-by-step instructions and was thankful that I had already done some weaving, a lot of it made sense. Much more sense than when I first got the book.

I was all set to go but needed a shuttle. This seemed like a good excuse to finally visit Carolina Homespun. It was a good visit, Morgaine is really personable and knowledgable. I got the shuttle, a real tapestry beater (I used a kitchen fork previously), and some sock yarn as well.

One evening I picked out some yarn, and marked my cards. I don’t have warping board so I looked around the dining room my sewing room for a solution and keyed in on the chest of drawers. It worked quite well.


I spent a bunch of time threading and combing the cards. It probably would have been easier if the yarns were all the same weight. I did a little that night, and then some more at a sewing group. See the pattern?


No? Don’t worry, it’s not your eyes, I had a hard time keeping the cards moving right. This is as much as I got done:


Verdict: Cardweaving will have to wait a while. It is not a good thing to try to put down with a toddler roaming around. It was difficult to pick up the rhythm of the pattern with distractions both at home and when I was gabbing.

Friday, November 02, 2007

Copenhagen in Spring


This photo, of Rosenborg Castle and the King's Garden in Copenhagen, is one of my favorites from our trip to Scandinavia last year. First, it captures the wonderful moment when we turned a corner and actually caught a glimpse of Spring. Spring was late in coming last year and the whole time we were in Norway it was grey and cold, and sometimes snowing. Copenhagen was just as cold and worse, I was disappointed with our hotel room. We were pretty tired of grey, grey, grey, and cold, cold, cold, so the sight of these crocuses was really uplifting.

Secondly, it resembles some of the photos in the tourist brochures. I was quite proud of myself.

Thursday, November 01, 2007

NaBloPoMo


I just heard about National Blog Posting Month. Since I haven't posted in over two months, sounds like I should sign up!

I do have knitting stuff to post ("stuff", well I'm off to some great writing, huh?), including finished objects.

There are lots of neat prizes, and a great group of bloggers involved, so check out NaBloPoMo. Thanks to Kerflop where I read about it in the nick of time.

Hope a post about posting counts!

Sunday, August 26, 2007

Flower Basket Shawl

Here's what I've been doing during the precious time the baby naps while we're out and about. I pull over in a shady spot for some time to myself:

It's the Flower Basket Shawl originally from Interweave Knits Fall 2004. I started it on August 2nd, and finished knitting on the 24th.

A few things about this project:
  • I wanted to do a "real" lace project. I did a swap with the talented and prolific Z's Momma through the Knitty Coffeeshop and got this beautiful navy cashmere yarn as well as Lace Style, which I read intently
  • I picked this pattern (available to purchase, if you can't track down the magazine) because I love the way it looks; it didn't seem too difficult; and many knitters with blogs have done it in the past, so I was able to get a lot of advice
  • But I did want a challenge, and knew this would be because I hadn't followed a chart like this before, and the yarn is thin and held double
  • I'm planning on making Birch and also swapped and got the Kid Silk Haze. This shawl was intended to be a confidence-builder for that project
  • I did a swatch and ended up using 9's to match the gauge. I knit rather loosely so this surprised me, and in the end, even without doing the last repeat, it blocked to almost the suggested 57 x 27"
Well, I cannot tell you how great a learning experience this project was. I made so many mistakes. Some I was able to fix, some not. Yes, a lot of errors are visible, but I decided that's okay, which was not easy for this perfectionist. I got good a feeling for the pattern, finally, and realized the main mistake I was making was not slipping the stitch over on the sl/k2tog/psso.

I also went on faith that it would turn out. This is lace advice that I came across again and again, not to look back at what you have done, because it never resembles the final product. I couldn't even visualize how I was starting at the neck but not casting on "enough" stitches. I knew my shawl wouldn't look like the magazine because I was substituting yarn, and wanted a more "airy" look. Here's how it looked before washing and blocking:


I took advice from the Yarn Harlot on blocking. Weaving yarn through the top edge was a great idea. It just fit on my blocking board.


The best thing about this practice shawl? I love it! I just wish I could get a photo that does it justice. I wanted something to dress up the jeans and t-shirts I seem to wear all the time. And since it isn't perfect I don't feel like it is a precious heirloom I don't dare wear to the playground.


Wednesday, August 22, 2007

Class of 1987

Welcome to any Lowellites stopping by! (My 20th high school reunion is in October.)

Hope to see you at the reunion. Here is a brief history of what I have been doing the past twenty years:

Phase One - On My Own
After graduation I moved into my own Sunset in-law apartment and started working full-time for Banana Republic. I wasn't sure what I wanted to major in so I took some GE night classes at City College.

Phase Two - Married Too Young
I got married at 20 to someone I met at church who wanted to be a minister. We were poor. He finally got into seminary in Berkeley, but it didn't work out. That was my one year of not living in San Francisco. During this time I worked for a couple different retail companies and took night classes off and on.

Phase Three - She's Single Again
I got divorced and moved back to San Francisco. I got into cycling. I decided I needed to go to school full time and finally get my degree, so I quit my job and went to CCSF and then S.F. State.

Phase Four - Party Time
You know that partying you all did in college? Well I didn't get around to it until I was in my late '20s. I was working part-time and enjoying uppper division classes in literature and art. I got married to a Sunset boy. We had a lot of fun going to Hawaii and taking road trips.

Sadly, I lost my father to lung cancer just a month before graduation. This Lowellite didn't take a traditional route, but I did finally graduate magna cum laude at the ripe old age of 32.

Phase Five - Mom-o-Rama
A part-time job at the VA Hospital turned into an interesting opportunity. The scientist I worked for was also a former astronaut who was sending an experiment on the Space Shuttle. She made a documentary about it, so I got to learn all about video production and go to Cape Canaveral to tape and watch the launch of the fateful STS-107 mission.

Meanwhile I got divorced. Yes, again. I decided I needed some kind of strategy because I really wanted to have kids, but it just didn't happen in either of my first marriages. I felt almost jinxed. So I told my now husband that I would not get married again unless a baby was on the way. I actually had visions of getting married in the delivery room.

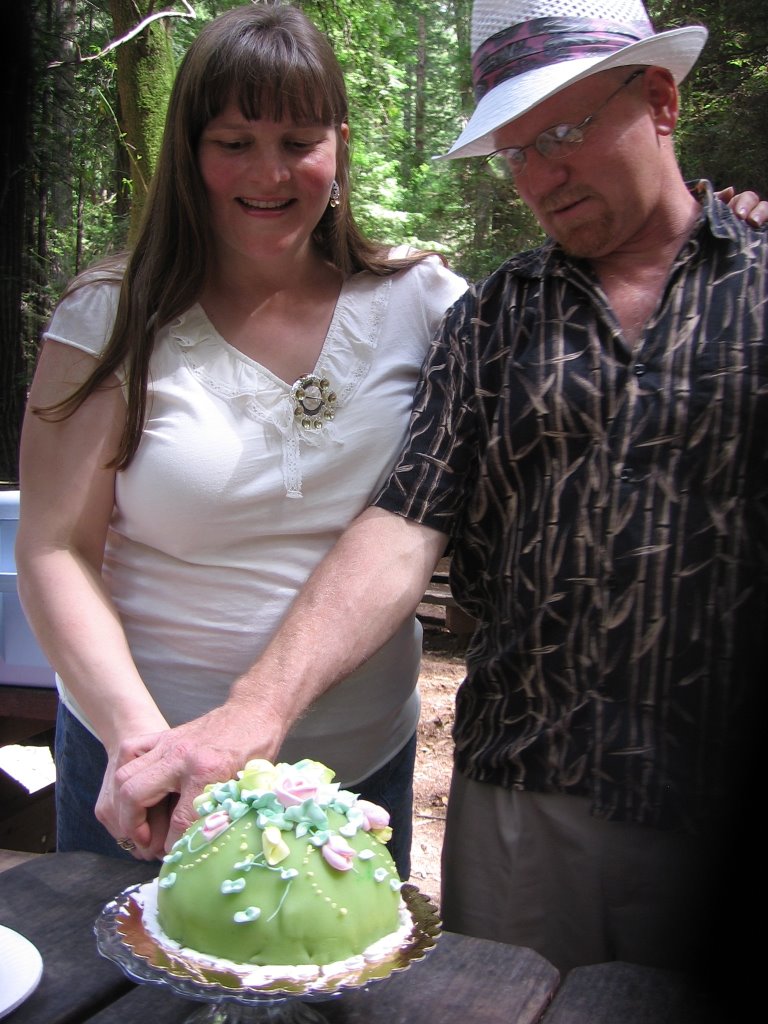
In September 2005 I quit my job to work on our general contracting business. I found out I was pregnant in November, we took our honeymoon in Scandinavia in April '06, and got married in May, two months before my due date. I chickened out about the delivery room ceremony, and a good thing, too, because the baby almost got born in the truck on the way to the hospital. Boy has life changed in the past year!

Saturday, August 11, 2007

First Rosemaling


I took my first "official" Rosemaling class. (I had a great first lesson at my Anna K. Daughters of Norway rosemaling day last month, and did a couple practice sessions on my own). I am very happy with it, but I have to admit that the photo makes it look much more impressive than it is in person. Please do not click on the photo, leave it nice and small. Thank you.

Rosemaling is Norwegian folk painting. This is the Telemark style. You can learn about Rosemaling here. I have always admired Rosemaling, but never considered trying it. I have never painted and don't consider myself "artistic". But I have gained confidence in trying new things since I took a basic drawing class a couple years ago. Fortunately I was able to get an afternoon "off" from the baby one day to check out our Rosemaling group. They were very encouraging, I had fun and was hooked. And fortunately my husband was nagging me to spend more time away from the baby so I bravely signed up for an all-day class.

Our instructor was the accomplished Marley Wright Smith. It was daunting at first, but I'm glad she had us beginners do a "real" piece. We did some practice strokes, but she encouraged us to jump right in and paint on the wood.

I went into today's class feeling pretty confident, but that feeling left me almost immediately. I could not get my practice strokes to look as good as my previous ones, and when I laid down my first strokes on the wood they looked awful. I think every project has it's discouraging moments, though, when you feel like giving up. I pushed ahead, believing Marley when she said the detail work would bring it all together.

Well, the line work was fun but I still was not happy with my craftsmanship. Marley put in some strokes to bring it together, and fixed my "root", which had gotten lost. It really came together when I got brave and painted the border around the edge. I had to leave class a bit early, but was lucky enough to find the baby napping when I got home, so I fixed a few more things, scrawled my name and called it done. I just remembered - Marley said to paint the back, too.

Thursday, July 19, 2007

First Felting Foray - Fun!

I'm working away on de-stashing and finishing projects. This one was started at least four years ago. It is a "Slimline Tote" by Two Old Bags. I don't know for sure the yarn anymore, but it feels and looks exactly like Cascade Quatro.

I picked this one back up with dread because I had dropped it thinking I didn't have enough yarn and because I couldn't figure out the pattern. Well, I had just enough yarn so that I didn't have to use the new skein of a slightly different pink that I bought last time I had tried to finish it. The plan was to have one pink & one blue handle if necessary. I was also pleasantly surprised to find that I was almost done, and figured out immediately what I was doing wrong the second time I got stuck. The top is finished with I-Cord and I was reading SSK as slip a stitch, slip a stitch, knit the next stitch. Yeah, that gets you nowhere as far as binding off.


Anyhow, I finished, took a before photo, and washed it. Wow! How cool! It shrank right down, and I washed it again to make it tighter. A-Maze-Ing. All my errors? Gone. Holes? Sealed. Big crappy stitches on the handle and the bottom? Invisible. Felting is so cool. My mother and husband were amazed at the transformation. And I got a needed lift. Both a project quickly finished, and realizing that my knitting is improving.

The before photos? Yeah, well, the baby knocked my camera to the floor and it doesn't work at the moment. But I took a photo onto the card in my video camera. Uh, no I didn't.

And um, yeah, I noticed it doesn't look like the photo with the pattern. I don't know for sure but I think I knit way to loosely. I am a notoriously loose knitter (ha, ha), so I probably didn't have to strive to knit with a loose gauge, could have just knit normally. Or maybe I didn't need the extra yarn because I decided to make it smaller? Just bad pattern reading? Or perhaps if I felted it many more times, as the pattern says it to? But I like the shape and the texture as is. It won't hold papers well, but it will be great for knitting.

Now I have to decided what to make with the Quatro.

Wednesday, July 11, 2007

I dream in (yarn) color

It started about a month ago. I had a dream about green and purple yarn. I went to a LYS and bought some Koigu to add to the Koigu stash. The green was just like my dream, but I couldn't find the exact purple. That's okay, I'm going to make a rainbow toddler hat or sweater or somesuch, someday. The dream didn't specify a project.

I'm doing two yarn swaps with folks I met on the Knitty Coffee Shop. One is for Rowan Kid Silk Haze in Grace. I'm thinking about making a Birch shawl. So I've been researching the pattern pros and cons, one of which is casting on 299 stitches. I woke up yesterday from a dream that I had successfully cast on the beautiful pink yarn. (I don't even have it yet!)

Last night's dream was not so pleasant. I was more like the one where it is the end of the semester and I realize there is a class I quit attending after a month, and tomorrow is the final. In the dream my blue sweater is full of dropped stitches. But which blue sweater is not clear. Last thing before bed I was working on a baby sweater in blue Manos del Uruguay. But yesterday I also was looking a the parts of sweater I never finished, in a very similar color blue. I knit all the parts for a cardigan from Stich 'N Bitch and even blocked them. I guess I didn't like the way the crocheted mohair trim was looking so I quit. Sheesh. There's no way I'm going to frog it, and I draped it on by body, seems like it fits. I should just finish! I like the colors and have cute cat buttons.

I wonder what tonight's dream will be?

Thursday, May 17, 2007

Syttende Mai

Gratulerer med dagen, Norge.

Today is Norway's Constitution Day. Read more about how it is celebrated here.

We celebrated here in San Francisco last weekend at Norway Day. Kenneth wore the bunad we got in Norway last year. He had fun.

Saturday, May 12, 2007

Happy Mother's Day

Sending a bunch of hearts (and viking ships) to all you mothers and mothering types out there!


I made these with my Rycraft cookie presses. I've been collecting them over the years. Although not made in Scandinavia they were inspired by Scandinavian (and German) wood carved presses. I grew up using them, maybe because the company started in Oregon.

Thursday, February 15, 2007

Where's the Viking Stuff?

Looking at my blog, it doesn't seem like there's been much "Viking" or Scandinavian stuff going on. Actually there has been, but most of it is on Kenneth's Blog, and some is yet to come.

  • Check out Kenneth's Baptism which had a Norwegian theme.
  • Video of the Viking Julfest we participated in. Photos.
  • There will be photos of Viking jewelry I've been helping make for my Daughters of Norway Lodge. We will be selling it at Norway Day.
  • The baby hat projects continue. See acorn and pumpkin variations in this post. Although not Scandinavian, they are part of the process of learning how to make my own patterns. A Norwegian hat is in the works.

My Stuff Bags

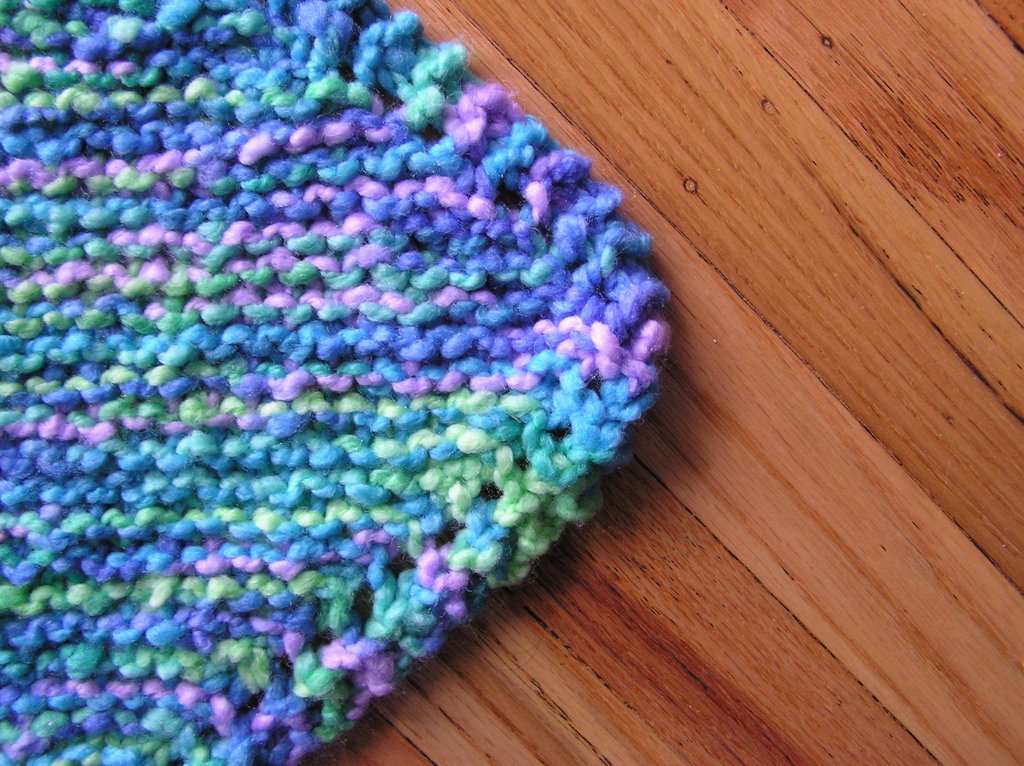
A friend got a group of her friends together to make blankets for My Stuff Bags. They give bags of comfort items to kids who have been taken out of their homes for various reasons. I started this blanket on our Thanksgiving road trip, finished it a few weeks ago, and finally wove in the ends last week.


The pattern is "Easy Eyelet Washcloth or Blanket" from Knitting for Baby. I used Patons Melody in Electric Blues which I found at the local fabric shop. I thought these colors would be okay for a boy or a girl and that using a washable acrylic made sense. It took six balls, since I used a 10 needle instead of the 15's called for, to make a roughly 40" square.

Monday, November 06, 2006

Cloth Diapers

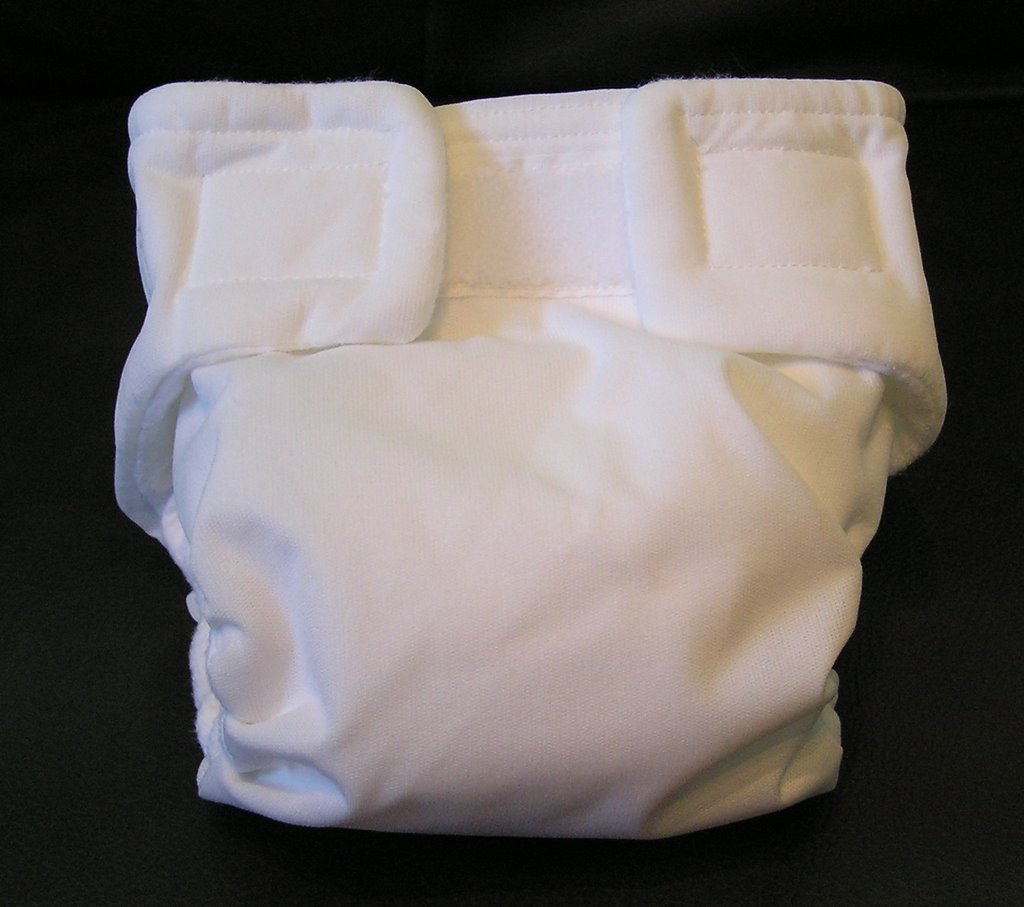
We decided to use cloth diapers as much as possible for a variety of reasons. I discovered that they are pretty hi-tech these days, and decided to try All-In-Ones for Kenneth. Instead of separate diapers and covers, an AIO consists of a waterproof layer, two layers of diaper fabric, and an internal pad of eight layers. And the whole thing just "velcros" on and afterwards goes in the washer and dryer. There are also long, foldable inserts (no picture) made of diaper fabric and flannel. This allows extra absorbency to be placed appropriately for boys & girls without a diaper that would take an hour and a half to dry. As it is with the eight layers they take an hour.


They are quite expensive to purchase, but I like to sew, so I got the pattern at Very Baby and the materials at One Stop Diaper Shop. They are very labor intensive, and the situation was made worse by the enormous belly in the way. If K. hadn't arrived two weeks "late" I'm not sure how many he would have had.

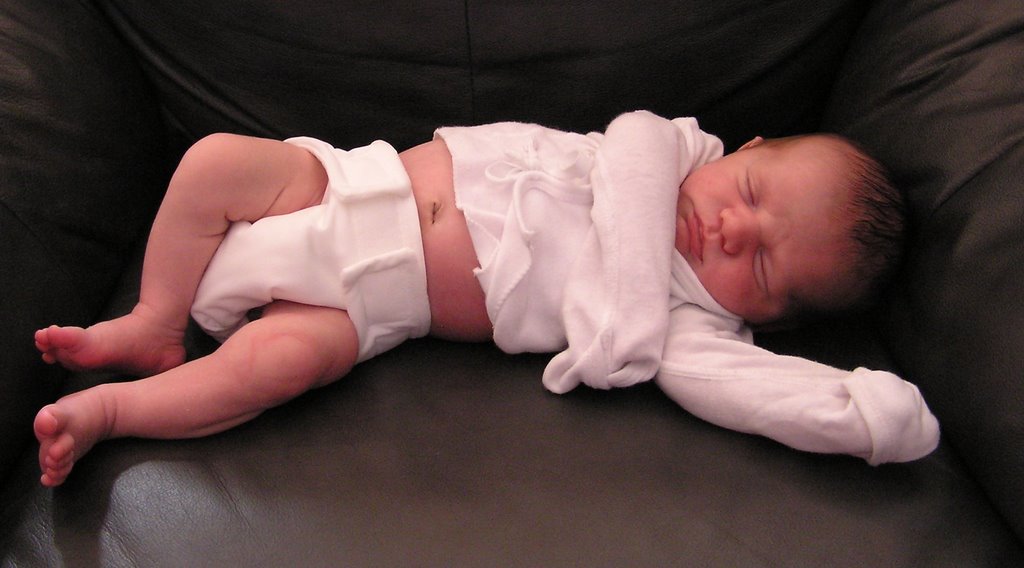
He grew out of the initial newborn set pretty quickly:


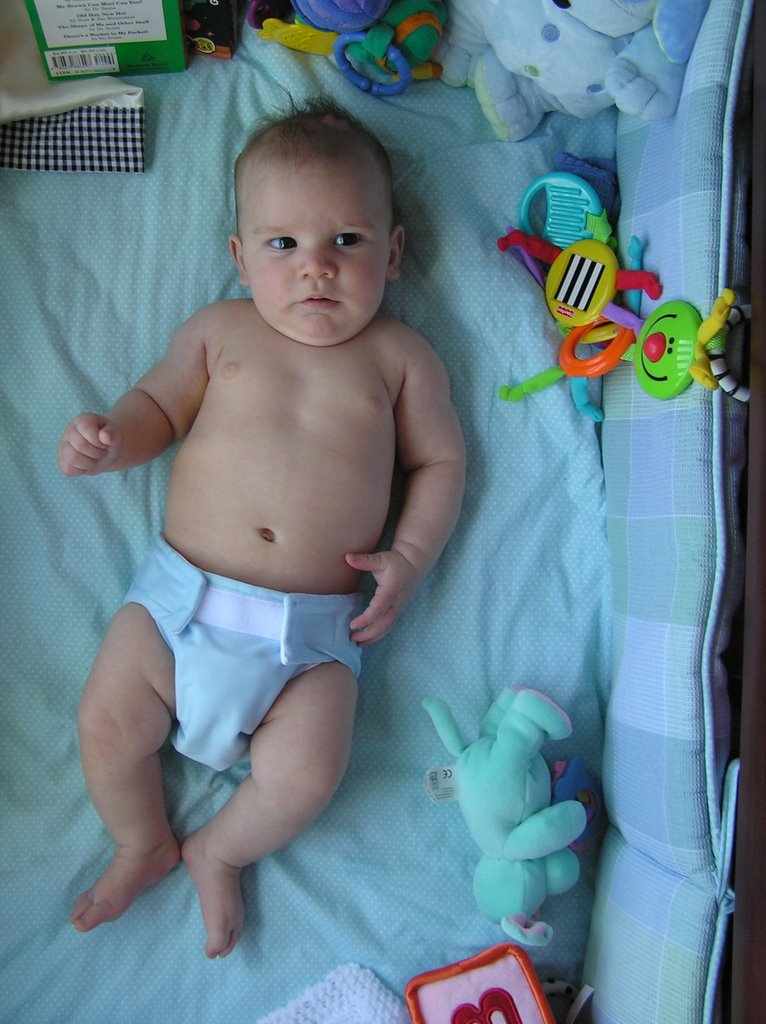
With the help of friends and family I made another batch in size small. (Okay, there are about five more partially completed). He is about to outgrow them, too.


I made white, blue, and periwinkle. That's part of the fun of making your own - colors. Note the coordination with his shirt. I used the scraps to make some waterproof cloths for him to sleep on and such.


The materials for the medium size have been sitting here for at least ten days. Ugh. At least they are supposed to fit up to twenty-some pounds, I think.

Friday, September 29, 2006

Baby Got Blog

In case you didn't hear, Kenneth has his own blog. (I have removed the link. Friends and family, email me and I will send it to you).
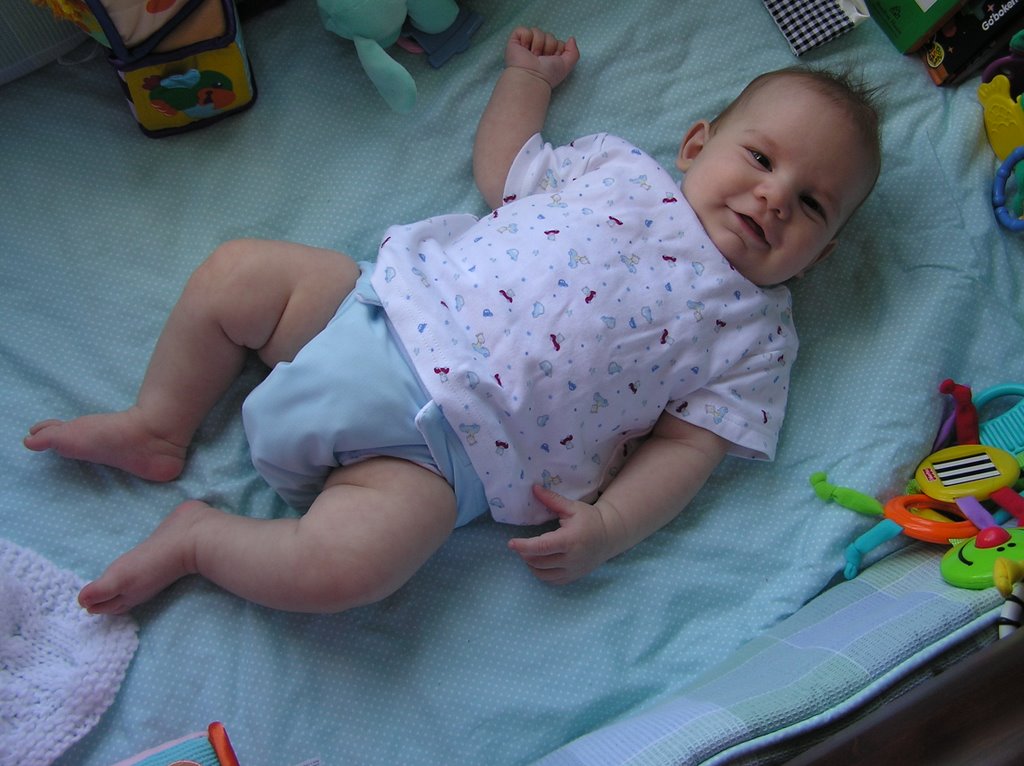
Head over and check it out. He's much better at replying to comments than I am.

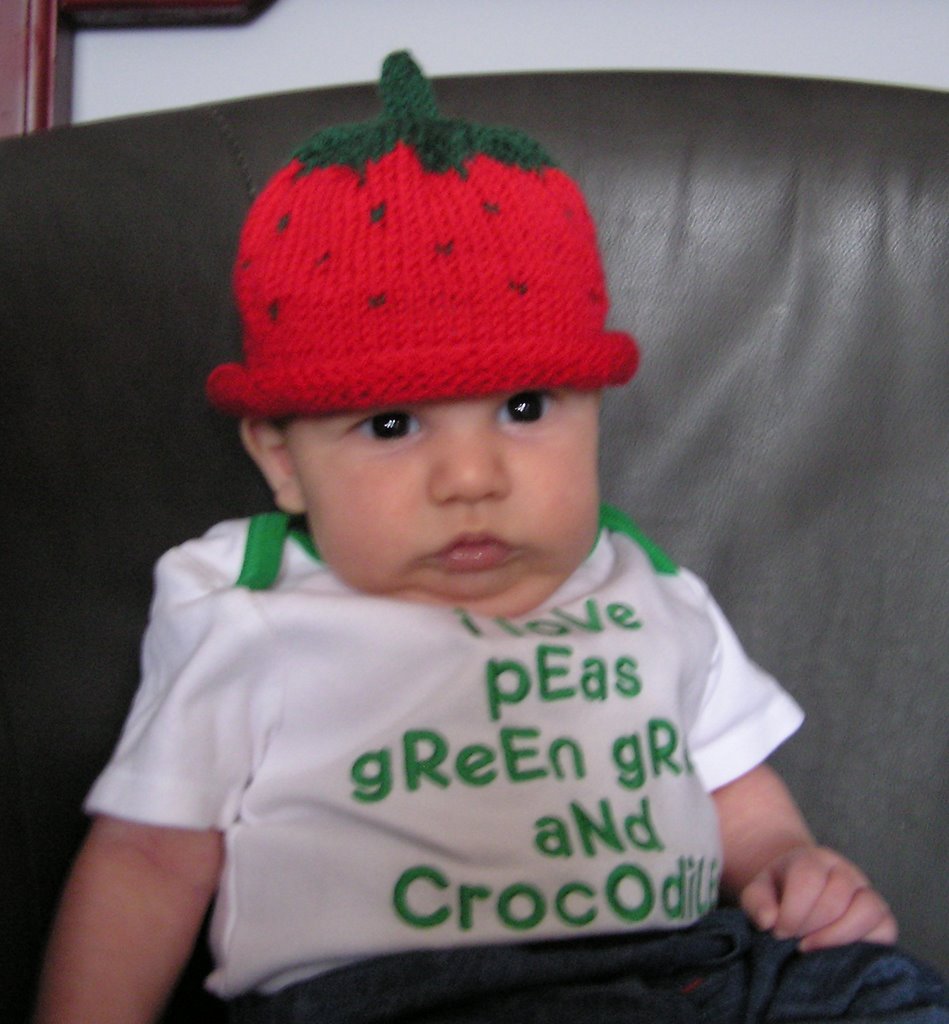
Here's a photo of that Strawberry Hat I made, as modeled by Kenneth:

Tuesday, September 05, 2006

Six Weeks

Kenneth now weighes 11.5 lbs. Why? Because...

Wednesday, August 09, 2006

Two Weeks

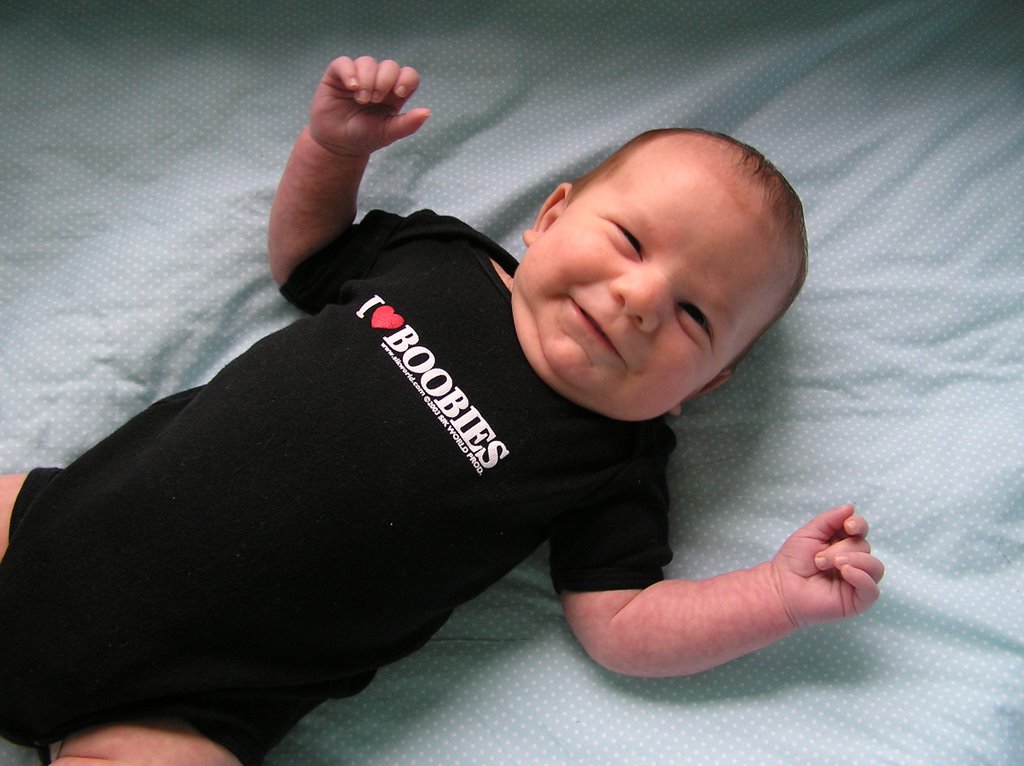
Kenneth had his two week check up today. The goal was to be back to his birth weight of 6lbs 12oz. Goal exceeded!! He weighed in at 8lbs 7oz. Observe the chubbiness (and lethargy):


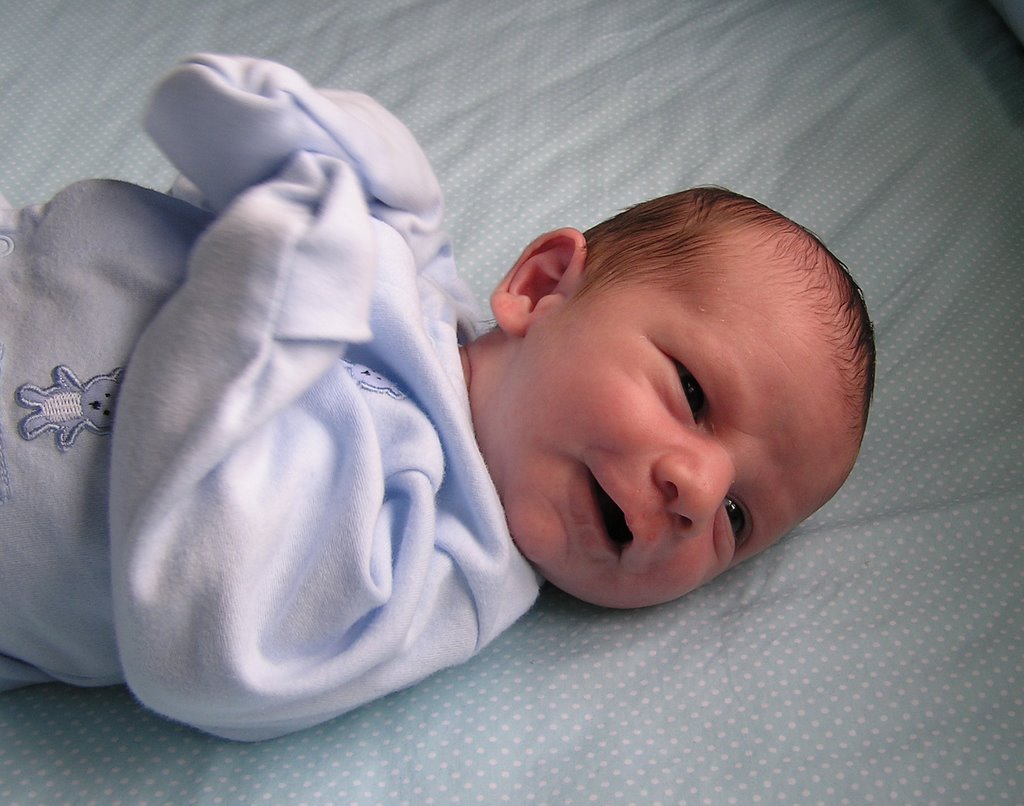
Compared to just a few days ago:

Catching up Posting Finished Items

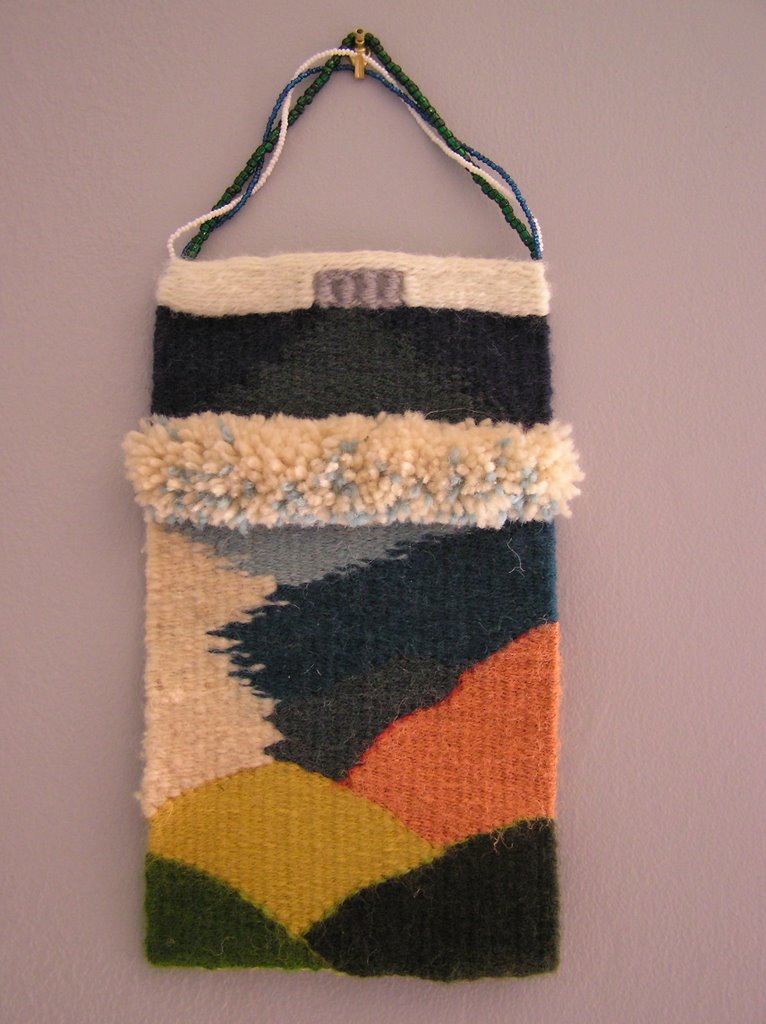
Here's my second tapestry:


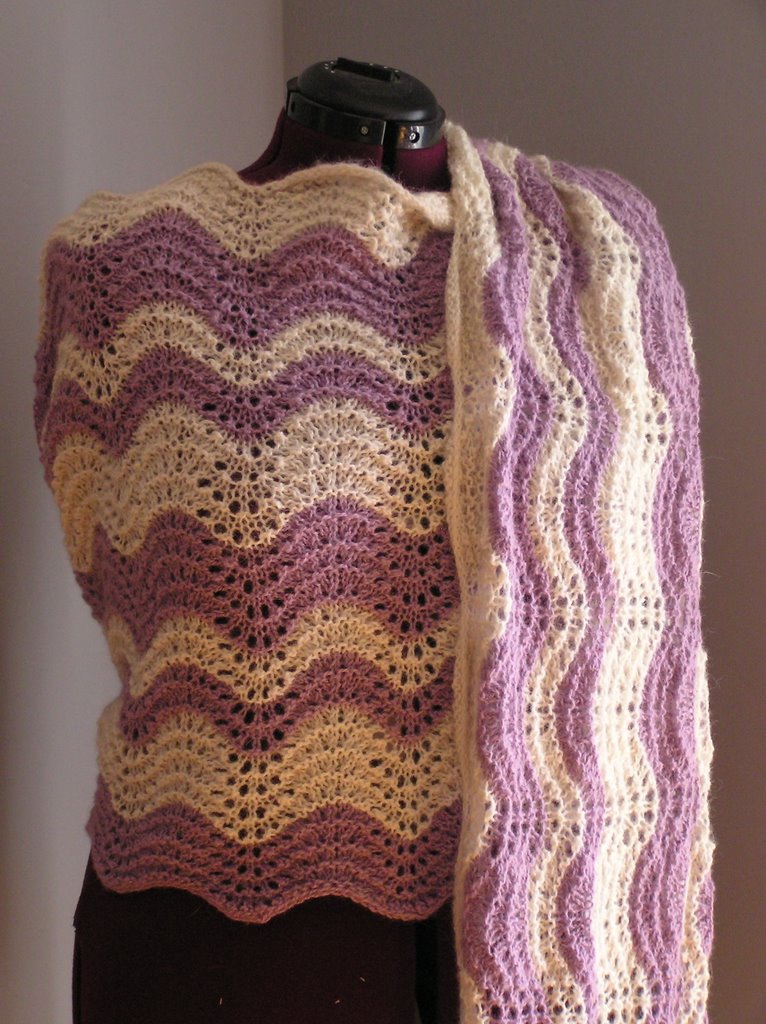
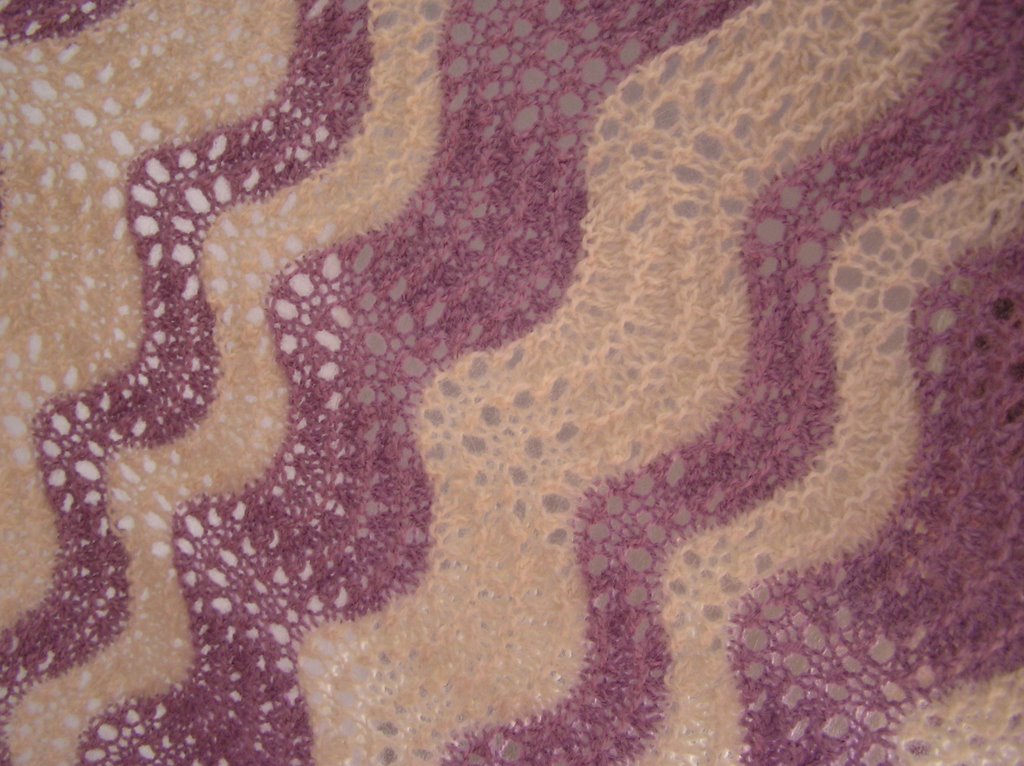
And this is a Feather & Fan shawl I made using the pattern from Cheryl Oberle's "Folk Shawls". It's done in Frog Tree Alpaca. You can see me wearing it down in the wedding pics in the June archive.


Saturday, July 29, 2006

Kenneth Edward III

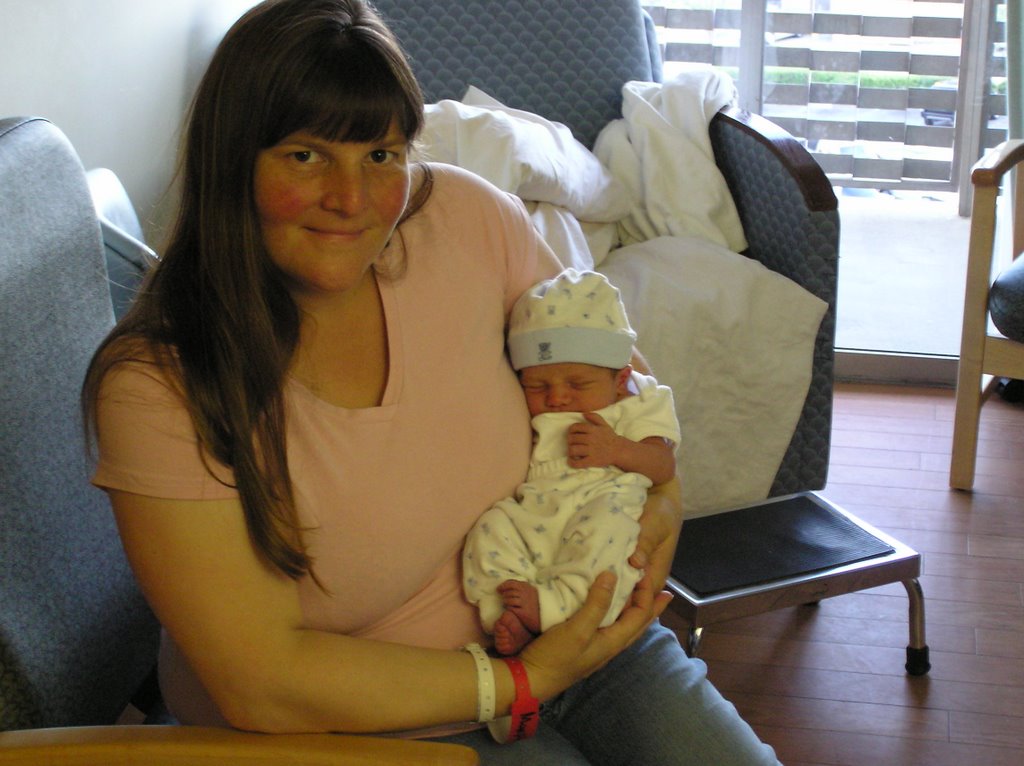
He's here!! Arrived Tuesday July 25th at 2:15 a.m. 6lbs 12oz 18.5"

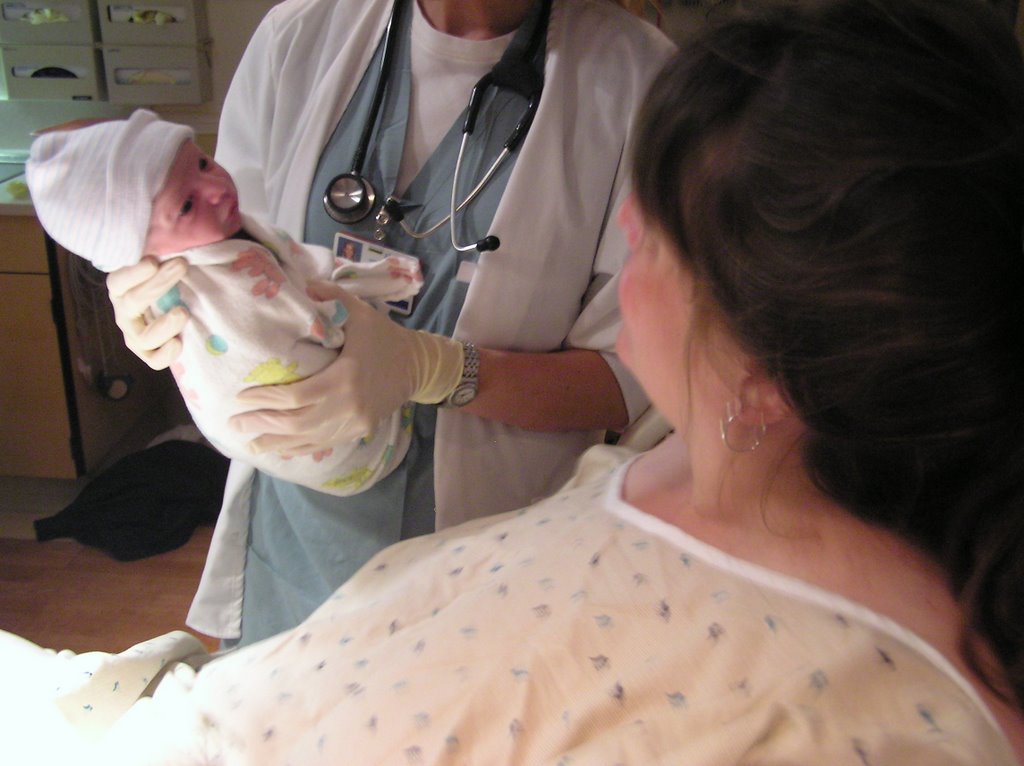
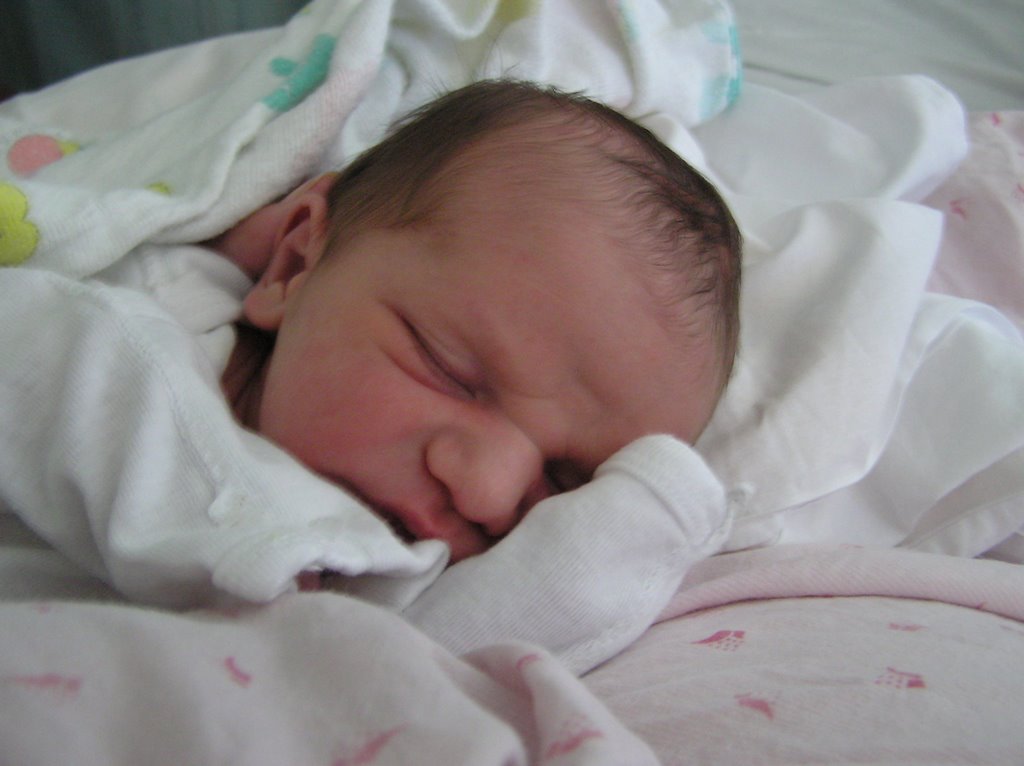
Here are some photos in chronological order:


Welcome


Recovering


Mini-Ed?


Dad's a natural


We're sprung from hospital

Friday, July 14, 2006

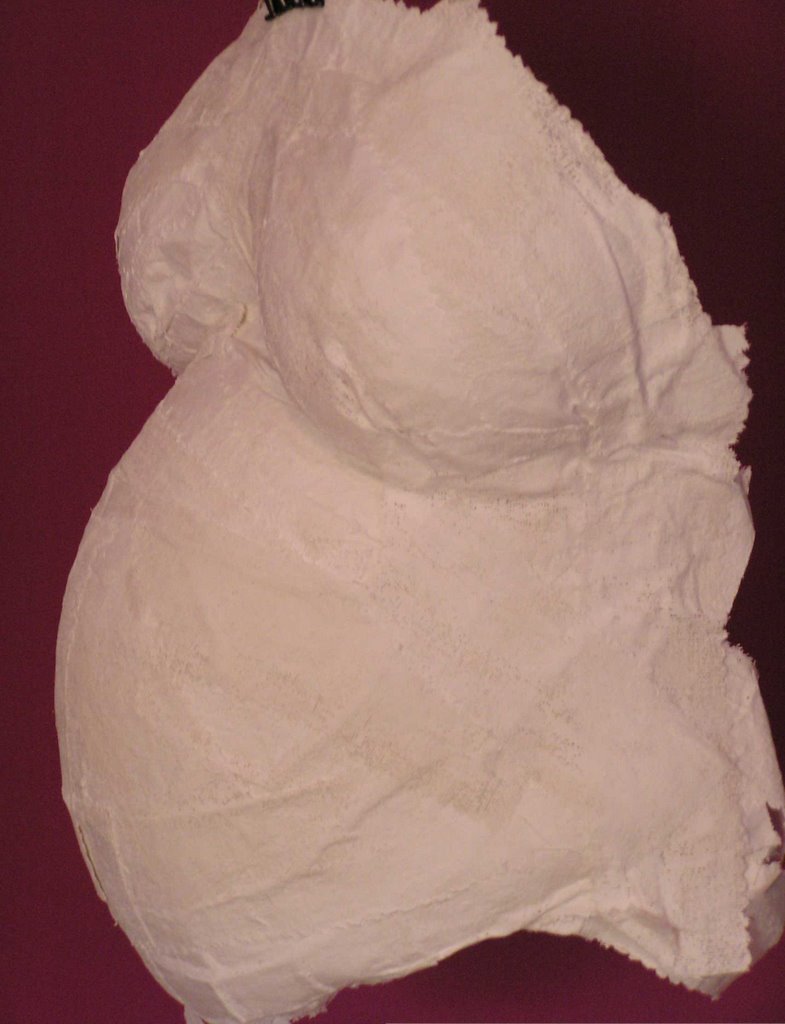
40-Week Belly Cast


Or, how we amused ourselves with plaster bandages, water, plastic wrap, and body oil on my "due" date.

Thursday, June 01, 2006

Monday, May 22, 2006

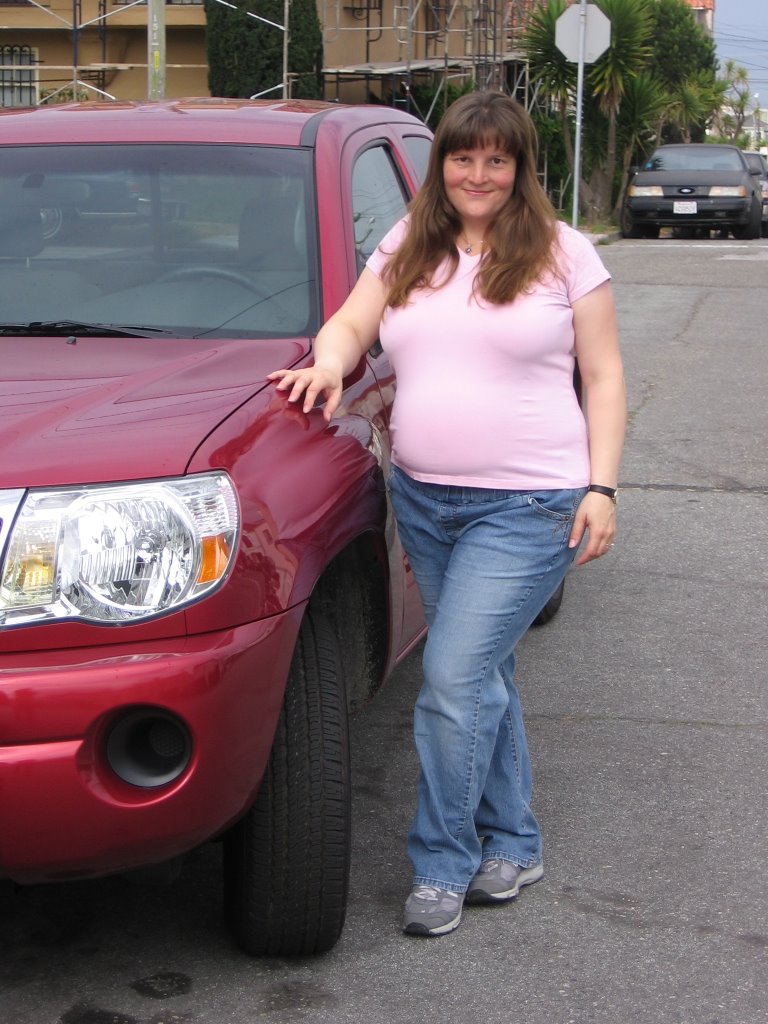
Baby on Board

My new truck and my 32-week belly